With over 200 million active websites worldwide, can you afford to waste the 50 milliseconds to impress your visitors with how good-looking your site is? Well, with custom animations, you don’t have to worry.
In this article, we’ll share animation techniques to improve your web design so you can set the tone for aesthetics and functionality. You’ll also learn the easy-to-follow steps to create animations that “WOW” your users.
By the end, you’ll have a toolkit full of tactics to help you increase dwell time and conversions. Let’s get started.
Fundamentals of Web Animations
Web animations bring websites to life. You can scroll through a page and see text that floats in or buttons that bounce when you hover over them. These effects grab attention, guide users to your site, and make user interactions more engaging and intuitive.
Let’s explore the top 3 technologies that bring these dynamic effects to life.
- SVG (Scalable Vector Graphics): Animate vector graphics, like logos or icons, to make sure they move smoothly across all screen sizes.
- CSS (Cascading Style Sheets): Create basic effects like fading in or changing colors when users interact with the elements.
- JavaScript: Make animations that respond to user inputs, like clicking a button or scrolling a page, with proper timing and animation behavior.
7 Easy Steps To Create Custom Animations
As you read this, outline the action points and the necessary tools you'll need so you can implement them right away without any bottlenecks.
Step 1: Think of An Animation Design That Connects To Your Audience
Find out what appeals most to your audience visually. Would they love a blend of colors, styles, or themes as part of your website design?
For example, if you're designing for tech enthusiasts, lean toward sleek designs and futuristic themes to match their interests and make your animation relatable. Also, 91% of users prefer visuals that emotionally resonate with them, so design with that in mind.
If you’re looking to create A+ web animations, here are the 10 ideas that can inspire you:
I. Hover Effects on Buttons
Add subtle animations when users hover over buttons, like making the button bigger or changing its color. This is especially helpful if you want to highlight key call-to-action buttons, like "Buy Now" or "Sign Up," to make it more engaging and enticing for users to interact with.
Here’s one of my favorite examples from Tailored Athlete:
The brand uses a flip-and-hover effect to let users quickly choose from these muscle-fit shorts based on their preferred size. They’ve smartly added a "Quick Add" option, so when users hover, they can pick their size with a quick click, and it goes straight into their cart.
II. Parallax Scrolling
Use parallax scrolling to create a dynamic effect where the background moves slower than the foreground when users scroll down the page. This effect works best for showcasing technologies like dash cams and rear-view cameras since it adds a 3D-like depth for more immersive visuals.
While parallax scrolling creates a visually engaging experience, it can also distract if overused. Balance the effect with readability and user navigation, and make sure that the key messages and CTAs are easy to navigate through.
III. Loading Animations With Animated Icons
Create sleek progress bars or animated icons for page loading sequences to visually engage users while they wait for content to load. Animations should be quick to maintain user engagement. A good rule of thumb is to keep micro-interactions under 500 milliseconds.
This way, you make sure that the animations do not trigger discomfort for users with motion sensitivity. Avoid extreme flashing or rapid movements too and provide options to disable animations if necessary.
IV. Microinteractions for Forms
Add micro animations to form fields, like shaking for incorrect inputs or a smooth checkmark animation when a field is completed correctly. These animations show users where to click and what to do next, making the experience clear and easy to follow.
V. Scrolling Text Effects
Create animated text that scrolls or fades into view as the user navigates through the page. You can use this to highlight important messages or updates without overwhelming the user.
This is especially helpful if you sell digital products like online courses. For example, as your users scroll through the course catalog, you can animate text that gently fades in to announce a new course on "Advanced Photoshop Techniques."
The text can say, "New Course Alert: Master Photoshop in 4 Weeks!" This message will only appear as the user reaches that part of the page, so they can see your latest offering without consuming too much information at once.
VI. Animated Data Visualizations
For tech or data-focused sites, create animations around charts or graphs to present data visually and make your number-driven storytelling dynamic. Use Adobe After Effects, Google Charts, or web-based tools like Flourish to create your animations.
But make sure to keep your design simple and include labels, legends, and brief explanations to make it easier to understand at a glance.
VII. Animated Icons and Logos
Transform your logo design with animations that morph into simple effects, like a logo spin or a subtle glow, to reinforce your brand identity. Through animation, you can make your brand more memorable. It’s like making a cool impression that sticks with them and makes your brand get noticed and recognized more often.
VIII. Interactive Scroll-Based Animations
As the user scrolls, animate certain sections of the webpage to move elements into place. For example, when the user goes over the "About Us" section of your webpage, gradually fade in the text from a lower to full opacity to draw attention and make it more visible.
IX. Hero Section Animations
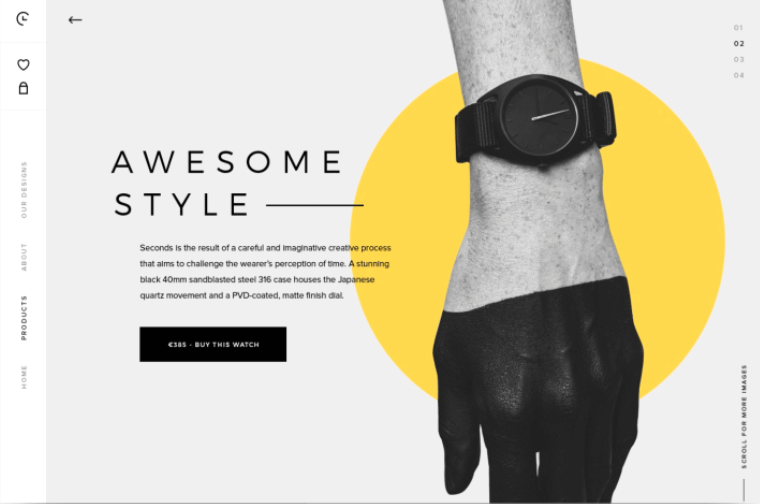
The hero section of a website is the large, eye-catching area at the top of the homepage and it’s the first thing people see when they visit a site. It’s the place to grab instant attention and give your visitors an idea of what the website is about right away.
This section often includes:
- Subtext
- Headline
- Brand image or video
- A call-to-action (CTA)
To make the hero section more engaging, animate it with images that fade in and out, icons that rotate, or text that slides across the screen. This can easily help draw user attention to the top of the page and set the tone for the rest of the site.
IX. Slide-In Menu Navigation
Instead of cluttered static menus, let it slide in smoothly from the side of the screen. This keeps your page looking tidy and adds a modern touch to the user experience. It’s a cool way to make your navigation more engaging while users stay focused on what they need to scroll in.
If you need more creative visions like the above, Creative Tim is here to help. We have extensive UI/UX kits and templates available to help you integrate these designs into your web projects. We also offer free and paid resources, like "Roots of UI/UX Design," which provides insights and practical examples into creating intuitive digital experiences.
Step 2: Select An Animation Tool That Best Fits Your Needs
Choose an animation tool that aligns with your skill level and project goals. If you're a beginner, go for user-friendly tools like Canva or Powtoon and look for these features:
- Simple drag-and-drop interface to easily add objects or text to your animation timeline.
- Pre-animated elements, including moving icons and animated text, that you can easily insert into your projects without needing to code.
- Intuitive and user-friendly interface, like clearly labeled buttons and drag-and-drop functionality, to make it easy to add text and images.
- Above all, free templates for various animation needs, like social media posts and presentations. You can start with these and customize them to fit your needs.
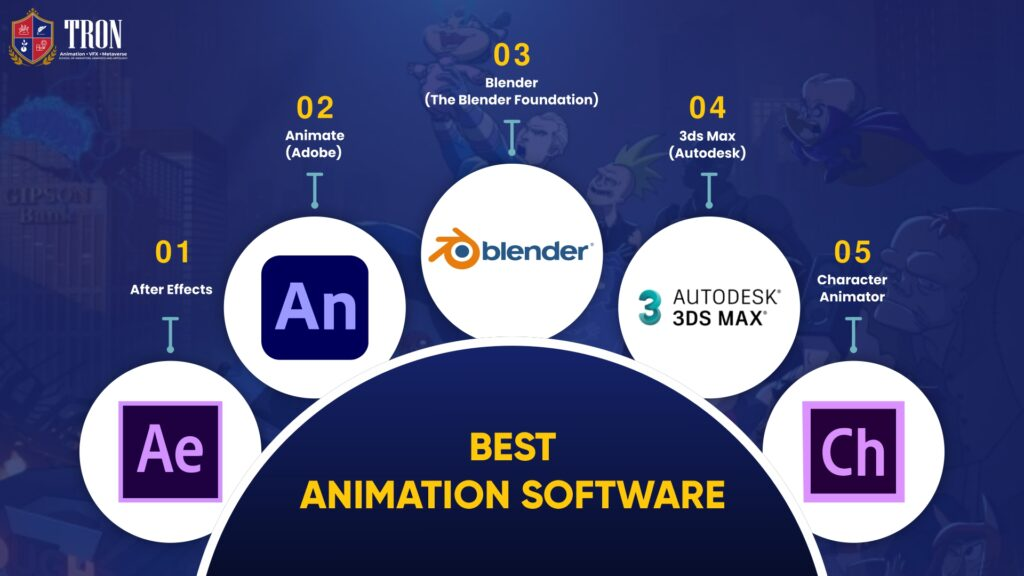
If you’re already an animation editor pro, opt for Blender or Adobe Animate to access more advanced tools and get full control of what you want to do. Here are the advanced features to look for:
- Custom animation tools (like motion tweens and shape tweens), so you can have precise control over how objects move and transform.
- Layer management tools to organize different elements of your animation into separate layers and make it easier to control and edit complex scenes.
- Advanced effects, including particle systems, to create realistic simulations of smoke, fire, and 3D effect transformations.
- Integration with other software, especially Adobe Photoshop and Illustrator, so you can import and work with graphics created in these advanced programs.
Once you learn about their features, pick the 1 that makes your workflow smoother.
But if you are pressed for time or lack the technical skills, you can hire a web design intern instead from platforms like Prosple and WayUp. Talented interns and graduates bring fresh, creative ideas that can assist with your animation and software development projects. Be sure to customize your job listings to make sure you find the best match you’re looking for.
Step 3: Draw A Basic Outline of How Your Animation Will Look
Grab a pen and paper (or use digital tools) and sketch out a rough storyboard. Break down your animation into scenes or steps to show key movements or transitions.
Even simple stick figures will help visualize the flow and make sure everything fits together smoothly. Use this outline as your blueprint while working to make animation live and on track.
As you write it down, make sure you answer these key points:
- What is the first thing viewers see? Should it be a title screen, logo animation, or a product description?
- What is the main content? Sketch out any relevant components (ex., headers, images, buttons, forms).
- How will you move from the intro to this scene? Consider using a fade-in, sliding transition, or zoom effect.
- How does 1 scene transition to the next? Use fade-ins, cutaways, or zooming techniques to connect your scenes seamlessly.
- Where will titles or subtitles be placed? Think about their size and how they’ll animate (ex., sliding from the side or fading into view).
- How much time will each transition take? Consider the pacing and how your animation feels to the viewer.
Once you know the key areas to focus on, apply this to your visual storytelling and planning process. For example, let’s say you’re in the medical industry. Planning to perfect your visual storytelling is crucial because it helps communicate the value of complex technologies, like medical alert systems, in a clear and relatable way.
So in your animations, you can show patients and doctors benefiting from these tools to create an emotional connection and highlight the life-saving impact.
This way, you can build trust and increase user satisfaction—something that other industries in e-commerce, like ReadyCloud, do by using engaging animations of people enjoying their CRM solutions to make the user experience feel more intuitive and dynamic.
Step 4: Set Up Keyframes To Highlight Key Animation Points
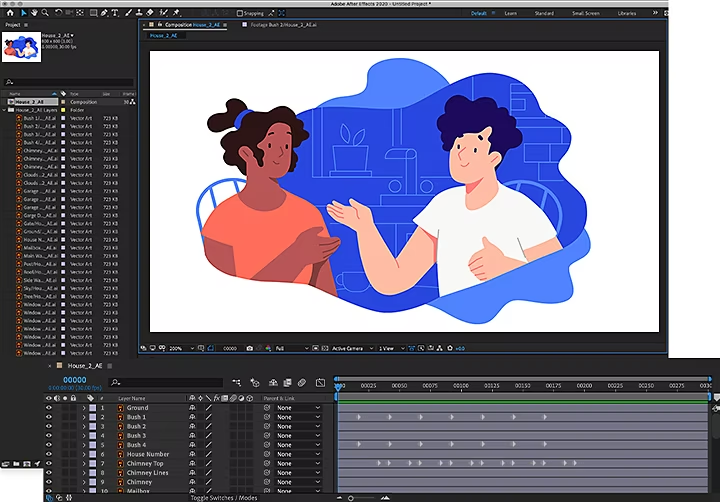
Animations with well-defined keyframes are 40% more engaging.
Place keyframes at the start and end of major actions—like when a character jumps or an object moves. Keyframes will define your animation’s flow and structure.
Between keyframes, the software will fill in the details (called “tweening”), and the keyframes serve as your anchor points. Be precise in setting them to create smooth movement. Pay attention to timing as well, as this will impact how realistic and engaging your animation feels.
The easiest way to create keyframes is using CSS. To start, you need to define the animation using the @keyframes rule. Once you do, specify the styles at different points in the animation and apply the animation to an element using CSS properties.
Here's a simple guide to help you out:
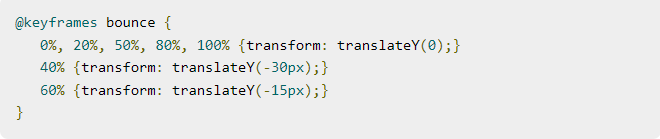
- Use the @keyframes rule to create your animation name (ex., "bounce").
- Create the keyframes you prefer, like 0%, 50%, and 100%. Factor in the styles for height and background color.
- Apply the animation to bind the keyframe animation to an element.
- Specify the name you created above, then set the duration, iteration count, direction, and timing you like.
Keyframes are pretty easy to learn, especially for basic animations. Once you get the hang of the @keyframes rule and apply it to your elements, you can make cool effects like the bounce. However, if you want to create more complex animations, it might be tricky. In that case, hire an expert web designer to do the job for you.
Step 5: Add Transitions To Smooth Out How Your Animation Moves
Animations with smooth transitions retain more viewer attention compared to static visuals. Use them between keyframes to make your animation move naturally from 1 scene or movement to the next, so it doesn’t look choppy or awkward.
You can achieve it by using the ease functions like ‘ease-in’ and ‘ease-out’ to make the movements feel more engaging and real. Be sure to test them out to confirm they enhance the flow of your animation rather than disrupt it.
Here’s a handy guide to make it happen:
- Apply transitions by inserting them between keyframes or scenes.
- Make sure the transitions don’t disrupt the flow of your animation.
- Choose the transition types, like fade-ins, fade-outs, and wipes, that will carve your brand identity.
Step 6: Add Sound & Special Effects To Make Your Animation Stand Out
To make your animation pop, add sound effects and background music to create a more immersive experience for your audience. Animations with soundtracks get more engagement than those without. So, try to use subtle sound effects like whooshes, clicks, and pops to make your animations come to life.
Here are the key ideas to consider in choosing effects:
- Use effects like glow, zoom, or particle systems to add flair.
- Include sounds to intensify actions or emphasize key moments.
- Choose a soundtrack that complements your animation’s mood.
Pro Tip: Use sound strategically. It shouldn’t overwhelm your visuals but enhance them. Test the audio mix to make sure it’s balanced.
Step 7: Save Your Animation & Test If It Works Well On All Devices
Once done, export your animation in a compatible format—MP4, SVG, and GIF work best across devices. Identify problems in formatting errors, resolution quality, or glitches and tweak as needed so you can reduce playback issues.
Other than that, with 70% of users viewing animations on mobile devices, optimizing it for mobile can increase conversion by 20%. Adjust your settings to maintain quality without slowing down performance.
To make the most of your animation’s performance, here are the techniques to use:
- Avoid frequent layout changes that can affect performance.
- Maintain a steady frame rate of around 24-30 FPS to balance smoothness and performance efficiency.
- Load animations only when needed to avoid unnecessary bandwidth consumption and speed up initial load times.
- Enable GPU acceleration for a smoother animation. Google Chrome’s DevTools can help identify performance bottlenecks.
- Manage memory usage by reducing the number of high-resolution frames in your animations to avoid crashes or sluggish performance.
3 Best Platforms To Help You Create Custom Web Animations
Highlight the key features of each platform that match your creative vision. Try out if they offer free trials to get a hands-on experience on which platform suits your workflow best.
1. Creative Tim - Best For Extensive UI Kits & Templates
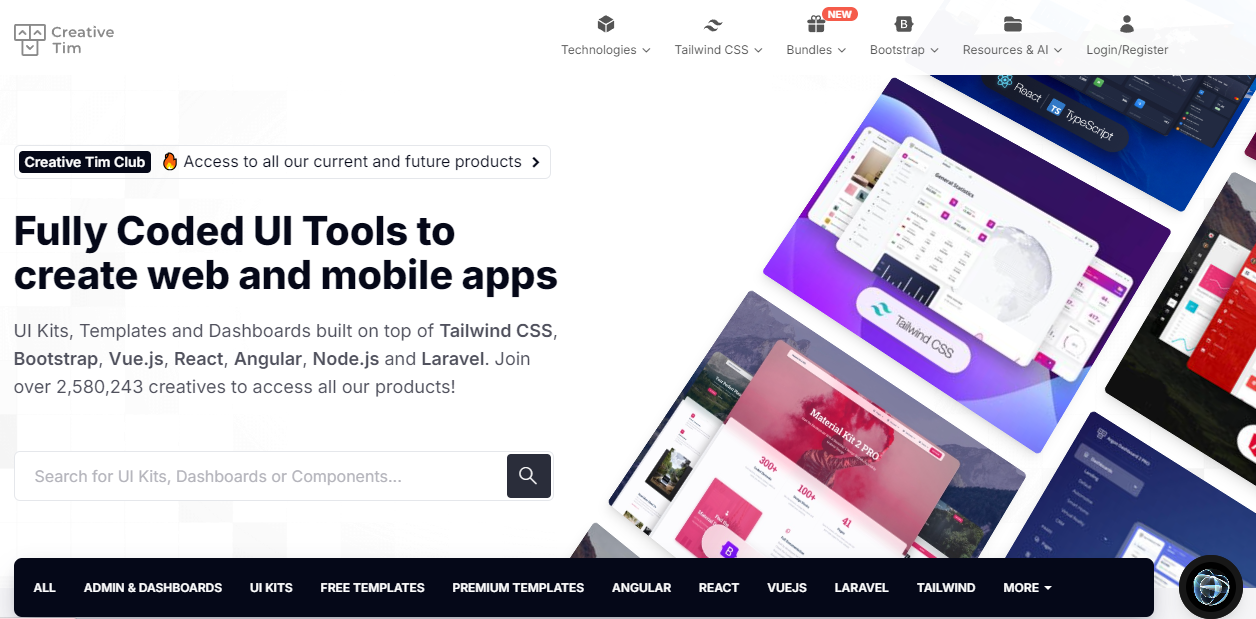
Creative Tim is a leading provider of UI kits, themes, and templates to help you create stunning web designs and mobile applications. With over 2.5 million registered users and 8.6 million projects created, you can easily choose elements for your site and engage with a community of developers who share their expertise and support each other.
Here’s how Creative Tim can help you level up your web design:
- Offers 94+ sleek, professional UI kits compatible with popular frameworks like Bootstrap, React, and Tailwind CSS.
- Renders fully coded admin dashboards that are visually appealing and user-friendly to implement complex designs with ease.
- Provides 157+ open-source UI kits (free templates) and 144+ premium UI tools to suit your budget and project requirements.
- Speeds up your design process with a drag-and-drop dashboard to help you create custom layouts without needing extensive coding skills.
2. Webflow - Best for No-Code Web Animations
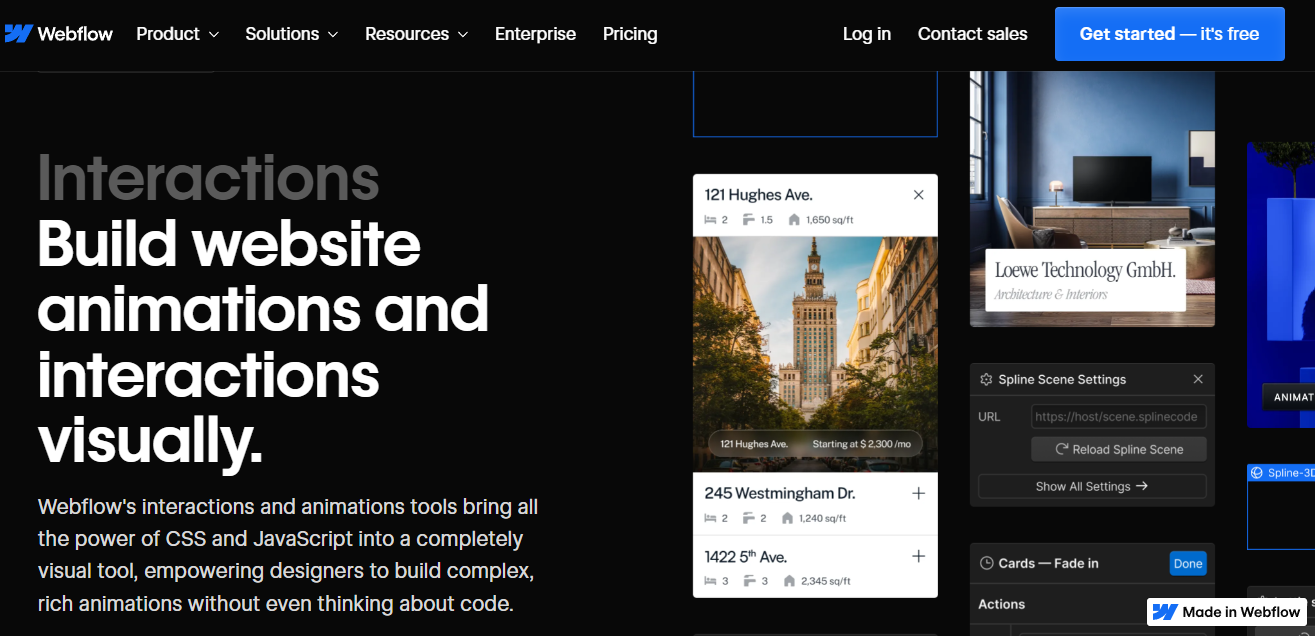
Webflow is an ideal option if you want to create impressive web animations, even if you have no coding background. It lets you design animations visually, so you can focus on creativity rather than coding. Webflow’s visual editor is super intuitive. It allows you to design complex animations, like parallax effects or interactive scroll-based elements.
Here’s how Webflow can simplify your web animations:
- Use Webflow’s CMS to automate your content and animation updates.
- Build animations that automatically adjust to look great on all devices.
- Connect animations with your site’s content as seamlessly as possible.
- Preview and adjust animations to see how changes will look before publishing.
3. LottieFiles - Best for Lightweight & Scalable Animations

LottieFiles creates and uses lightweight animations that work well on both websites and mobile apps. Their animations load quickly and look sharp on any screen size. LottieFiles also provides easy tools for adding these animations to your projects, so you don’t need to do complicated coding just to make your site visually appealing.
Here’s how LottiesFiles can help your animation process a lot easier:
- Use lightweight animations to make sure your website or app loads swiftly.
- Make use of scalable animations that stay sharp and clear for quality looks.
- Adjust and fine-tune animations to fit design needs and offer creative control.
- Use integration tools to add animations to your projects without complex coding.
Conclusion
To make the transition smoother, set aside time this week to draft a plan for your animation projects. Focus on the key techniques you want to use, then tackle each step progressively. Monitor the results and make iterative improvements as often as needed.
To get sleek, professional designs in your animations, connect with us at Creative Tim to get access to our ready-to-use UI kits and templates. Get a glimpse of our 8.6 million projects today to find animations that fit your site’s style and make your website on top.
Author Bio:
Sarah Mitchell is a freelance writer dedicated to producing premium blog content for entrepreneurs and SMBs. Her work helps them streamline their content marketing and you may recognize her name from platforms like Hubspot, Outbrain, Flippa, and many more.

